Putting Together Dazid de Zarco
Vampire Puppet
 Getting Started:
There are just a few steps and a few tools you will need. You will need to print the puppet on card stock. Then you will need scissors, a hole punch, mini brads. A small piece of Styrofoam and a small stick or skewer for a handle.
Card Stock:
The easy part is going to be printing the puppet out on 65 lb., 90 lb., or even 110 lb. card stock, unless of course, you haven't any. Then it would be best to print out the puppet to color on regular copy paper, cut them out and trace them onto heavier paper. As I've written before, an old manila folder, or paper of
the same weight as manila folders works fine.
Copy Paper:
You can also just print out the puppet on
copy paper and glue the pieces together over another
sheet in any way you like, although I think the puppet
would prefer not to have their feet on their arms or their
heads on their elbows.
Cutting Out the Puppet:
Before you start cutting, color the black & white drawings.
Use a good pair of scissors, be patient and cut slowly - you can do it!
Holes for the Brads:
If you haven't a small hole punch to make the holes for
the brads, you can use a large darning needle, an
ice pick (An ice pick? Does anyone know what an
ice pick is anymore?), the tip of an XACTO® blade or
small sharp pointy object such as small scissor tips.
These holes don't need to be very large because you
can work the brads carefully into them and that keeps
them tight. If you have no brads and no hope of getting
any, don't fret. These little puppets look great in a pose,
either taped or glued in place.
Please ask an adult to help if you are unsure of
yourself or very young.
 Putting it all Together:
You can find teeny tiny brads with small
colorful mini flowers or mini stars in the scrap booking
department of most craft stores. These are perfect for
assembling paper puppets. We use a small round head brad in black for the Boots and tan, or red stars for the rest. You can use what ever you like.
After you make the very small holes for the mini brads,
carefully work the prongs through the holes from the
front of the top piece and spread the legs of the brad in the back. Try to keep them a bit tight so the puppet will hold a pose.
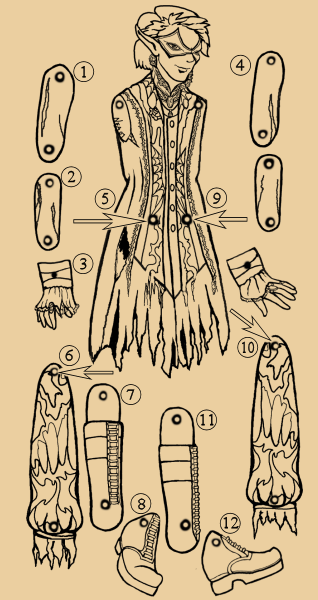
The upper arm (#1) goes in front of the shoulder. The lower
arm (#2) goes over the bottom of the upper arm and the wrist (#4) goes over
the bottom of the lower arm,
The other upper arm (#4) goes under the shoulder. The lower
arm goes over the bottom of the upper arm and the wrist goes over
the bottom of the lower arm,
The upper leg (#6) goes under the coat (#5). The lower leg and top of boot (#7) go under the lower leg and then the boot (#8) goes over the "top of boot". On the other leg it is the same with the upper leg (#10) goes under the coat (#9). The lower leg and top of boot (#11) go under the lower leg and the boot (#12) goes over the "top of boot".
Having fun with a puppet
You can add a "handle" on the back of the puppet or
hang them up on a wall or curtain in different poses.
I have a whole row of dancing fairies above my bed
and every once in awhile they all change position.
One little fairy even disappeared for two whole days!
Adding a Handle:
To add a stick you will need a small block of Styrofoam
or other material. We use a small ball of Styrofoam cut in half,
anything will do. Use glue or a hot glue gun to stick
the Styrofoam ball or block of other material
to the back of the puppet. Insert a skewer stick (cut the
sharp point off), small craft stick, or even a Popsicle
stick into the ball or block angled down, so that it will be easy
to hold, slightly away from the body. Remove the stick,
place glue in the hole and put the stick back in.
You're all set to have fun.
![]()
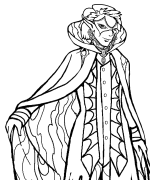
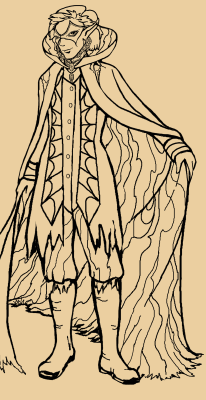
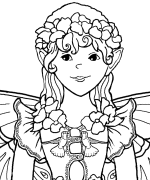
Dazid Vampire
to Color
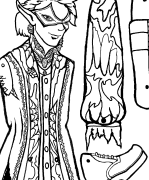
Dazid Puppet
Color and Cut
![]()
![]()
Send a note to Phee McFaddell
Phee's | Home Page | Who's Phee | Tea Party Stories
Picture Books | The Craft | Coloring Projects | Gallery
Comments | News Letters | Guest Book | Search | Artist's Page | Links
![]()